Getting Started with Docker Compose: A Home Lab Guide
Docker Compose is the single best tool for managing self-hosted services on your home server.
Instead of a wall of docker run flags you'll forget by next week,
Compose gives you readable YAML files, one-command deployments, and dead-simple updates.
This guide takes you from zero to running real stacks.

What Is Docker Compose?
Docker Compose is a tool for defining and running multi-container Docker applications.
You write a compose.yaml file (previously docker-compose.yml)
that describes your services, networks, and volumes. Then a single command brings everything up.
For home lab use this is invaluable. Rather than documenting which ports, environment variables, and volume mounts you used for every container, it's all captured in a version-controlled YAML file that you can commit to Git and redeploy on any machine in minutes.
Docker Compose V2 ships as a plugin with Docker Desktop and modern Docker Engine installations. The command is now docker compose (no hyphen). The old docker-compose standalone binary still exists but V2 is the standard going forward.
Installing Docker & Compose
The fastest way to install Docker Engine with Compose V2 on Debian/Ubuntu (the most common base for home servers and Proxmox LXC containers) is the official install script:
# Install Docker via convenience script (Debian/Ubuntu)
curl -fsSL https://get.docker.com | sh

# Add your user to the docker group (avoid using sudo)
sudo usermod -aG docker $USER

# Apply group change without logging out
newgrp docker

# Verify installation
docker --version
docker compose version
On Fedora/RHEL-based systems:
sudo dnf install docker-ce docker-ce-cli containerd.io docker-compose-plugin
sudo systemctl enable --now docker
sudo usermod -aG docker $USER
Writing Your First Compose File
A Compose file is a YAML document with four main top-level keys: services, volumes, networks, and configs. For most home lab use cases you only need the first three.
Here's a minimal example running Jellyfin — one of the most popular self-hosted media servers:
# compose.yaml
services:
  jellyfin:
    image: jellyfin/jellyfin:latest
    container_name: jellyfin
    restart: unless-stopped
    ports:
      - "8096:8096"       # Web UI
      - "8920:8920"       # HTTPS (optional)
    environment:
      - PUID=1000          # Run as your user ID
      - PGID=1000          # Run as your group ID
      - TZ=America/Chicago
    volumes:
      - jellyfin-config:/config
      - /mnt/media:/media:ro   # Your media library (read-only)
    devices:
      - /dev/dri:/dev/dri  # Intel/AMD hardware transcoding (optional)

volumes:
  jellyfin-config:
Save this as ~/jellyfin/compose.yaml and run it:
cd ~/jellyfin
docker compose up -d   # -d = detached (background)
docker compose logs -f # Follow logs
docker compose ps      # Check status
Key Concepts
Volumes
Volumes persist data outside the container lifecycle. There are two kinds you'll use:
- Named volumes — managed by Docker (
jellyfin-config:/config). Stored in/var/lib/docker/volumes/. Good for app config you don't need to browse directly. - Bind mounts — a path on your host maps into the container (
/mnt/media:/media). Good for data you want to access from the host too (media, backups).
Networks
By default, every Compose project gets its own isolated bridge network. Services in the same
Compose file can reach each other by service name. For example, a db service is
reachable at hostname db from any other service in that file.
This is how you connect a WordPress container to its database container.
Environment Variables
Never hardcode secrets in your Compose file. Use a .env file in the same directory:
POSTGRES_PASSWORD=mysupersecretpassword
PGID=1000
PUID=1000
TZ=America/Chicagoservices:
db:
image: postgres:16
environment:
POSTGRES_PASSWORD: ${POSTGRES_PASSWORD} # Interpolated from .envYour .env file contains secrets. Never commit it to a public Git repo. Add .env to your .gitignore and commit a .env.example with placeholder values instead.
A Real Multi-Service Stack
Here's a practical Compose stack I use daily — Nextcloud with a PostgreSQL database and Redis cache,
all wired together on a private network. This is the kind of setup that would require five minutes
of copy-pasting flags with plain docker run but deploys cleanly in one command with Compose:
# compose.yaml — Nextcloud stack
services:
  nextcloud:
    image: nextcloud:latest
    container_name: nextcloud
    restart: unless-stopped
    ports:
      - "8080:80"
    environment:
      - POSTGRES_HOST=db
      - POSTGRES_DB=nextcloud
      - POSTGRES_USER=nextcloud
      - POSTGRES_PASSWORD=${POSTGRES_PASSWORD}
      - REDIS_HOST=redis
      - NEXTCLOUD_ADMIN_USER=${ADMIN_USER}
      - NEXTCLOUD_ADMIN_PASSWORD=${ADMIN_PASSWORD}
      - NEXTCLOUD_TRUSTED_DOMAINS=nextcloud.yourdomain.com
    volumes:
      - nextcloud-data:/var/www/html
    depends_on:
      - db
      - redis
    networks:
      - nextcloud-net

  db:
    image: postgres:16-alpine
    container_name: nextcloud-db
    restart: unless-stopped
    environment:
      - POSTGRES_DB=nextcloud
      - POSTGRES_USER=nextcloud
      - POSTGRES_PASSWORD=${POSTGRES_PASSWORD}
    volumes:
      - nextcloud-db:/var/lib/postgresql/data
    networks:
      - nextcloud-net

  redis:
    image: redis:7-alpine
    container_name: nextcloud-redis
    restart: unless-stopped
    command: redis-server --save 60 1 --loglevel warning
    volumes:
      - nextcloud-redis:/data
    networks:
      - nextcloud-net

volumes:
  nextcloud-data:
  nextcloud-db:
  nextcloud-redis:

networks:
  nextcloud-net:
    driver: bridge
Essential Compose Commands
These are the commands you'll use every single day. All of them run from the directory
containing your compose.yaml:
# Start all services in the background
docker compose up -d

# Stop all services (keeps data)
docker compose down

# Stop AND remove volumes (destroys data — careful!)
docker compose down -v

# Pull latest images then restart
docker compose pull && docker compose up -d

# View logs (all services)
docker compose logs -f

# View logs (specific service)
docker compose logs -f nextcloud

# Open a shell in a running container
docker compose exec nextcloud bash

# Check status of all services
docker compose ps

# Restart a single service
docker compose restart nextcloud

# Rebuild after changing image or build context
docker compose up -d --build
Keeping Containers Updated
Updating containers with Compose is two commands — pull the new image, then restart:
docker compose pull          # Pull all updated images
docker compose up -d         # Recreate containers using new images
docker image prune -f # Clean up dangling old imagesAdd Watchtower as a service in your Compose stack to automatically pull and restart containers when new images are published. Just be careful using it on production-critical services — pin image tags instead of :latest for anything you depend on heavily.
Recommended Hardware for Running Docker at Home
Running Docker Compose at home doesn't require beefy hardware, but the right gear makes a difference. Here's what I recommend and personally use:

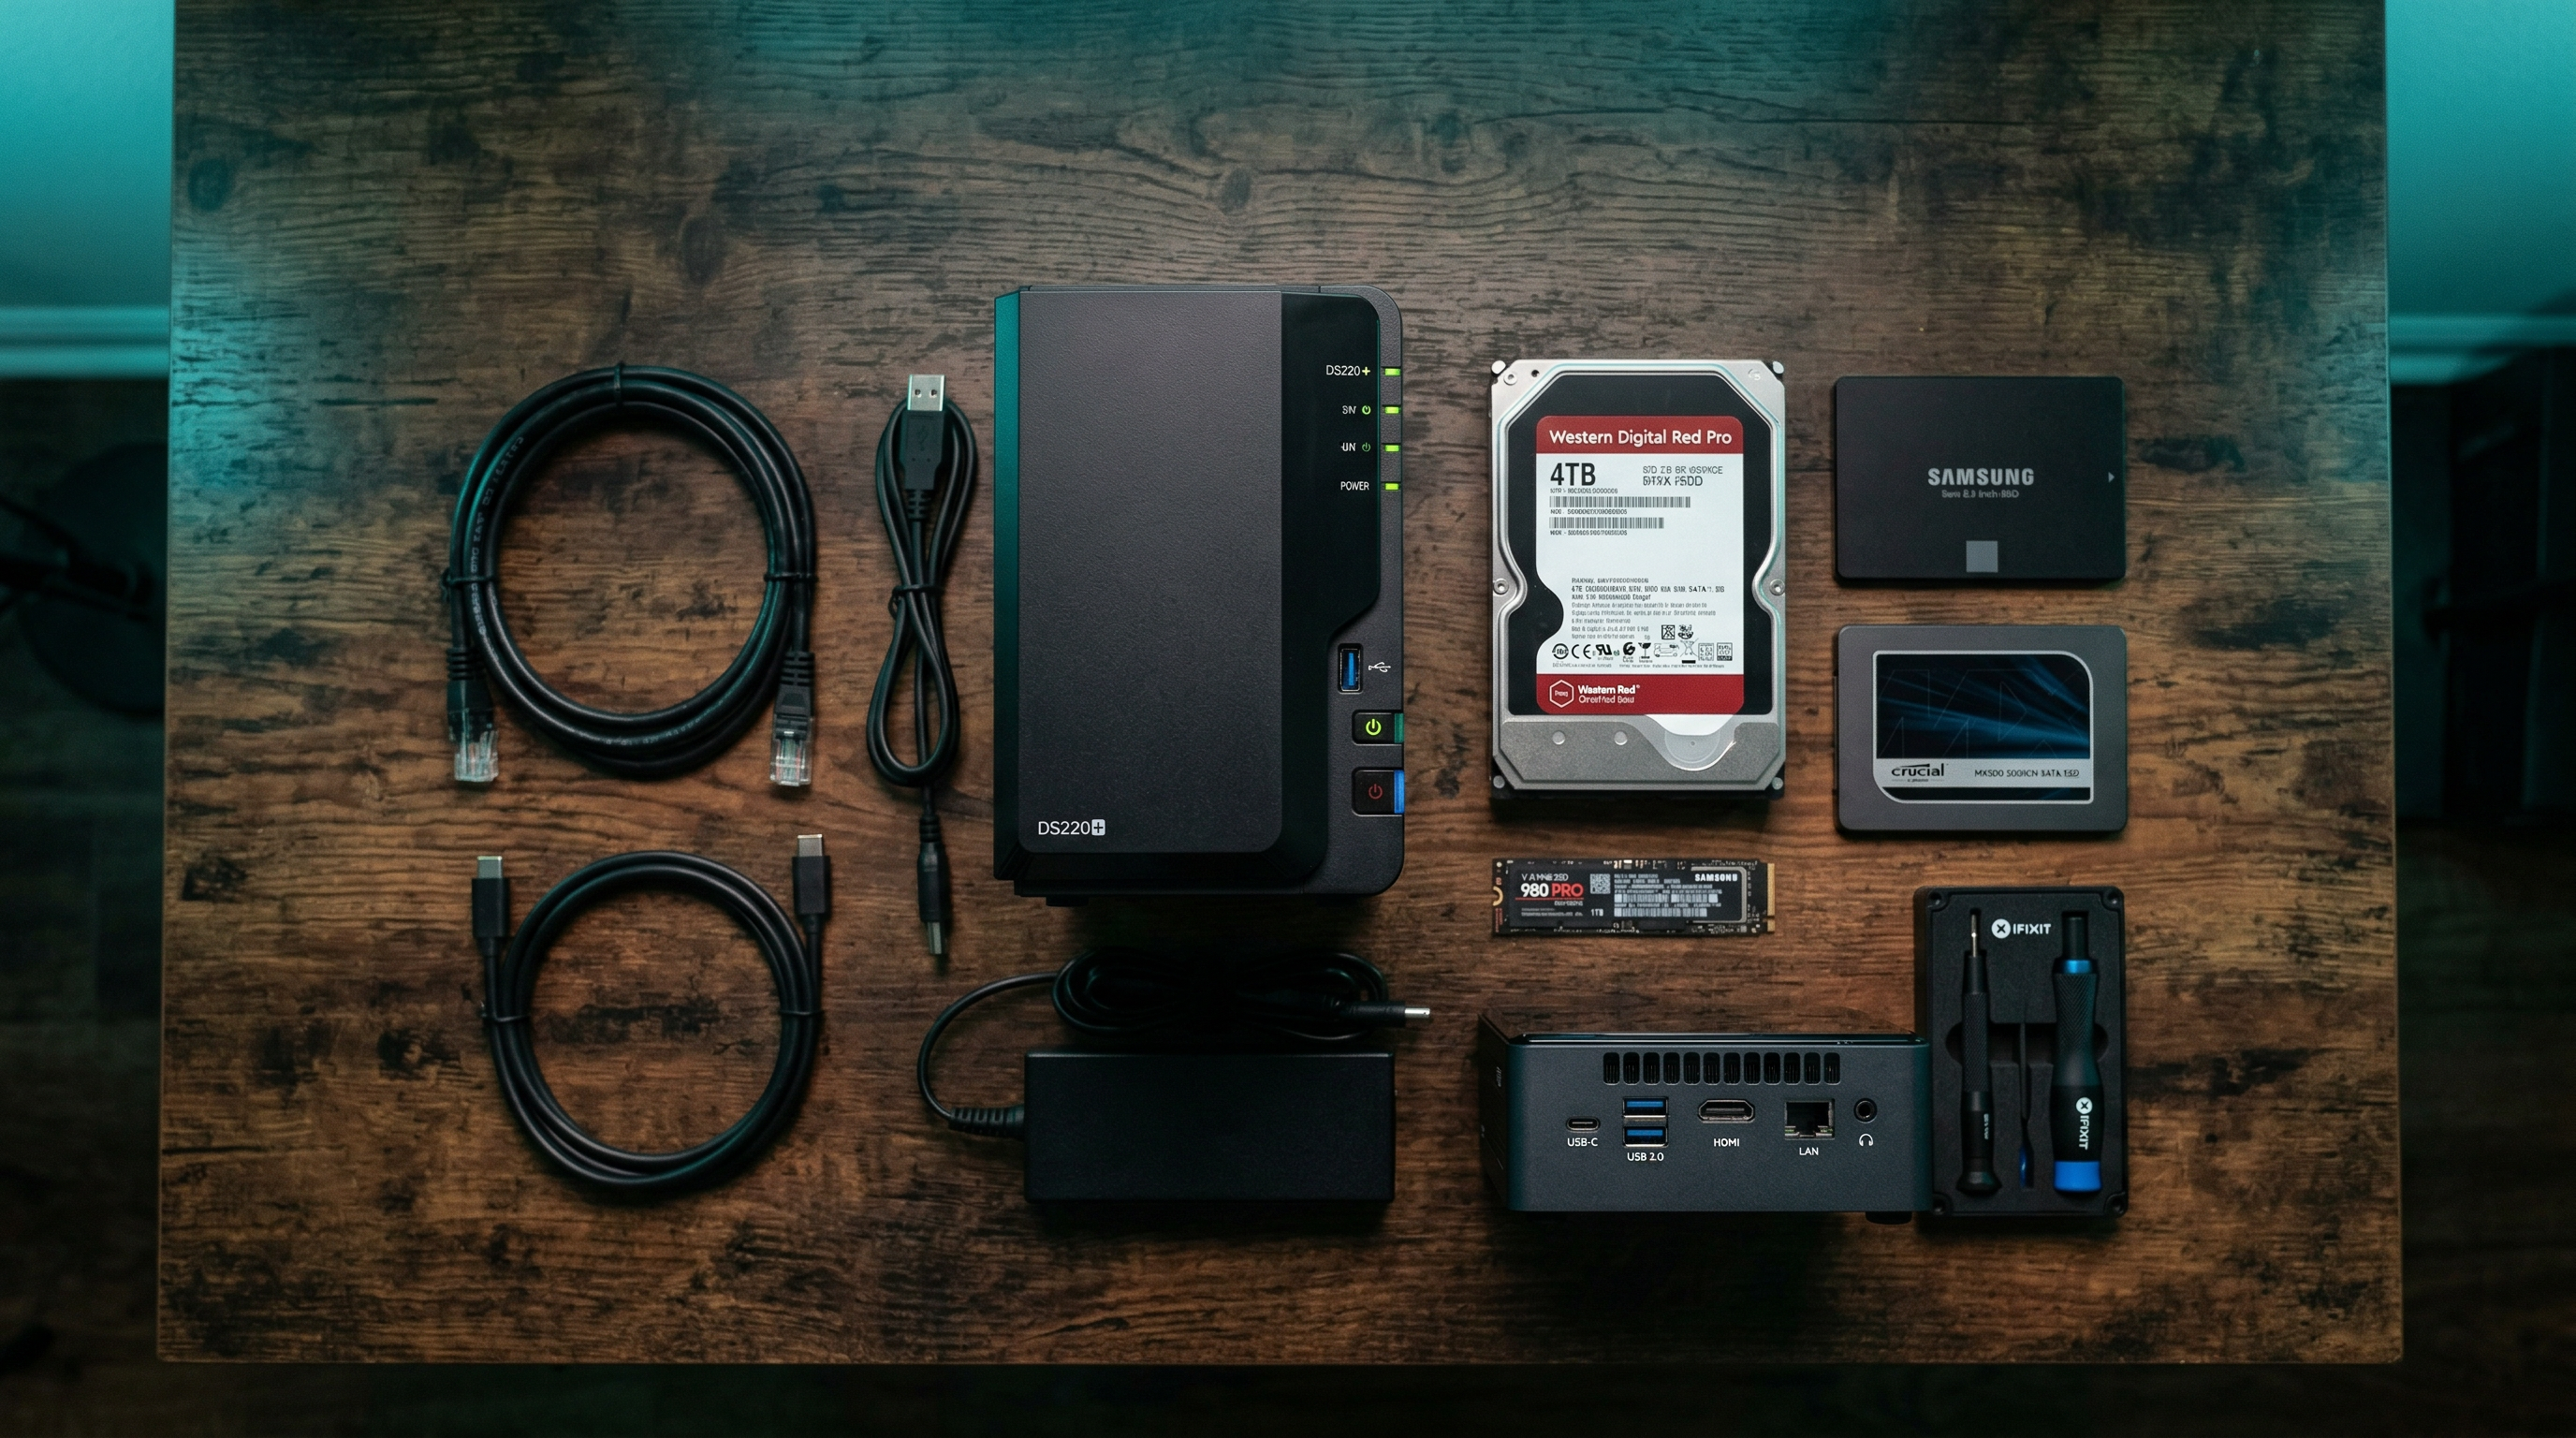

Amazon Associate disclosure: Links above are affiliate links. I earn a small commission if you purchase through them at no extra cost to you.
Next Steps
Once you're comfortable with basic Compose stacks, here's where to go next:
- Nginx Proxy Manager — Put a reverse proxy in front of all your services with automatic SSL certificates.
- Portainer — A web GUI to manage all your Docker containers and Compose stacks visually.
- Watchtower — Auto-update containers when new images are published.
- Migrate to K3s — When you outgrow Compose, Kubernetes (via K3s) is the natural next step for orchestration at scale.